Installing mold spare parts correctly is crucial for the efficient and safe operation of any molding equipment. As a trusted Mold Spare Parts supplier, I've witnessed firsthand the impact of proper installation on the performance and longevity of molds. In this blog post, I'll share some essential steps and tips to help you install mold spare parts correctly.
Pre - installation Preparation
Before you start the installation process, it's essential to gather all the necessary tools and materials. This includes basic hand tools such as wrenches, screwdrivers, and pliers, as well as any specialized tools required for the specific mold spare part. Additionally, make sure you have a clean and well - lit workspace.

Inspect the new mold spare part carefully. Check for any visible damage, such as cracks, scratches, or deformities. If you notice any issues, contact your supplier immediately. You should also review the product documentation provided by the manufacturer. This documentation usually includes detailed installation instructions, technical specifications, and safety warnings.
Identifying the Correct Parts
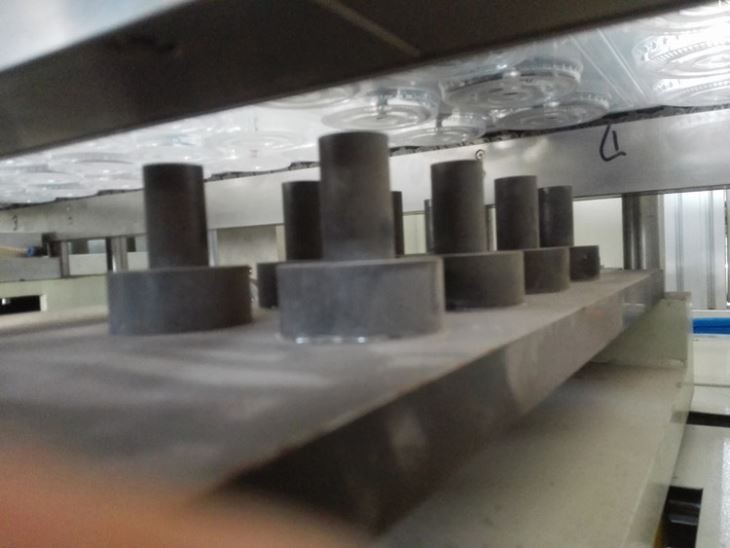
As a Mold Spare Parts supplier, we offer a wide range of products, including Forming Mold for Thermoforming Machine, Cutting Mold, and Punching Mold. It's vital to ensure that you have the right part for your mold. Double - check the part number, dimensions, and compatibility with your existing mold system.
If you're unsure about the correct part, don't hesitate to reach out to us. Our team of experts can assist you in identifying the right mold spare part based on your specific requirements.
Removing the Old Part
If you're replacing an existing mold spare part, the first step is to remove the old part safely. Start by shutting down the molding equipment and disconnecting it from the power source. This is a critical safety measure to prevent any accidental startup during the installation process.
Use the appropriate tools to loosen and remove the fasteners holding the old part in place. These fasteners may include bolts, nuts, or screws. Keep track of all the removed fasteners and any small components, as you'll need them for the installation of the new part.
Once the fasteners are removed, carefully take out the old part. Be cautious not to damage any surrounding components or the mold itself. Inspect the area where the old part was installed for any signs of wear, damage, or debris. Clean the area thoroughly to ensure a proper fit for the new part.
Installing the New Part
Before installing the new mold spare part, apply a thin layer of lubricant to any moving parts or contact surfaces as recommended by the manufacturer. This will help reduce friction and wear during operation.
Position the new part in the correct location. Align it precisely with the mounting holes and any other reference points on the mold. Make sure the part is seated correctly and there are no gaps or misalignments.
Insert the fasteners and tighten them gradually. It's important to tighten the fasteners evenly to prevent uneven stress on the part. Over - tightening can cause damage to the part or the mold, while under - tightening can lead to loose connections and potential safety hazards. Refer to the manufacturer's specifications for the correct torque values.
Testing and Adjustment
After installing the new mold spare part, it's time to test the mold. Reconnect the molding equipment to the power source and turn it on. Start with a low - speed or test run to check the operation of the new part. Observe the part closely for any signs of abnormal movement, noise, or vibration.
If you notice any issues during the test run, stop the equipment immediately. Check the installation to ensure that everything is correctly installed and tightened. You may need to make some adjustments to the part or the surrounding components.
It's also a good idea to perform a quality check on the molded products. Look for any defects, such as uneven edges, poor surface finish, or incorrect dimensions. If there are any quality issues, they may be related to the installation of the new mold spare part.
Maintenance and Follow - up
Proper installation is just the beginning. To ensure the long - term performance of the mold spare part, regular maintenance is essential. Follow the manufacturer's maintenance schedule, which may include tasks such as cleaning, lubrication, and inspection.
Keep a record of the installation date, part number, and any maintenance activities. This will help you track the performance of the part and plan for future replacements or maintenance.
If you have any questions or encounter any problems during the installation or operation of the mold spare part, our team is here to help. We offer comprehensive technical support to ensure that you get the most out of our products.
Conclusion
Installing mold spare parts correctly is a skill that requires attention to detail, proper tools, and following the manufacturer's instructions. As a Mold Spare Parts supplier, we are committed to providing high - quality products and supporting our customers throughout the installation process.
If you're in the market for mold spare parts or need assistance with installation, don't hesitate to contact us. Our team of experts is ready to help you find the right parts and ensure a successful installation. We look forward to working with you to improve the performance and efficiency of your molding operations.
References
- Manufacturer's installation manuals for mold spare parts
- Industry best practices for mold installation and maintenance


