Hey there! I'm a supplier of punching molds, and today I wanna share with you some tips on how to clean a punching mold. Cleaning your punching mold regularly is super important. It can extend the mold's lifespan, improve the quality of the punched products, and save you a ton of money in the long run. So, let's dive right in!
Why Cleaning a Punching Mold is Crucial
Before we get into the cleaning process, let me tell you why it's so essential to keep your punching mold clean. During the punching process, debris, metal shavings, lubricants, and other contaminants can accumulate on the mold's surface. If these aren't removed, they can cause all sorts of problems. For example, the debris can scratch the mold, leading to uneven punching and poor product quality. It can also increase friction, which means more wear and tear on the mold and higher energy consumption. Plus, dirty molds are more likely to rust, especially if they're exposed to moisture.
Pre - cleaning Preparation
First things first, you need to make sure you've got all the right tools and materials. You'll need a soft - bristle brush, a cleaning solvent, a lint - free cloth, and some safety gear like gloves and goggles. Safety should always be your top priority, so don't skip the safety equipment.
Next, you have to shut down the punching machine and disconnect it from the power source. This is a no - brainer, but you'd be surprised how many people forget this step. You don't want any accidental starts while you're cleaning the mold.
Step - by - Step Cleaning Process
1. Remove Loose Debris
Use the soft - bristle brush to gently remove any loose debris, such as metal shavings and dust, from the mold's surface. Start from the edges and work your way towards the center. Be careful not to scratch the mold with the brush. You can also use compressed air to blow out any debris that's stuck in hard - to - reach areas.
2. Apply Cleaning Solvent
Once you've removed the loose debris, it's time to apply the cleaning solvent. There are different types of cleaning solvents available, so make sure you choose one that's suitable for your punching mold material. Some molds are made of steel, while others might be made of aluminum or other alloys. Read the solvent's instructions carefully before using it.
Dip the lint - free cloth into the cleaning solvent and then gently wipe the mold's surface. Pay special attention to areas where there's heavy contamination, like the punching edges and the cavities. You can also use the soft - bristle brush to scrub these areas gently if needed.
3. Rinse and Dry
After you've cleaned the mold with the solvent, you need to rinse it thoroughly. You can use clean water to rinse off the solvent residue. Make sure you remove all the solvent, as any leftover solvent can cause corrosion over time.
Once you've rinsed the mold, use a dry lint - free cloth to dry it completely. You can also use compressed air to speed up the drying process. Make sure there's no moisture left on the mold, as this can lead to rust.
4. Inspect the Mold
After the mold is dry, take a close look at it. Check for any signs of damage, such as cracks, chips, or excessive wear. If you notice any issues, you might need to repair or replace the mold. It's always better to catch these problems early on to avoid more serious issues down the road.
Special Considerations for Different Types of Punching Molds
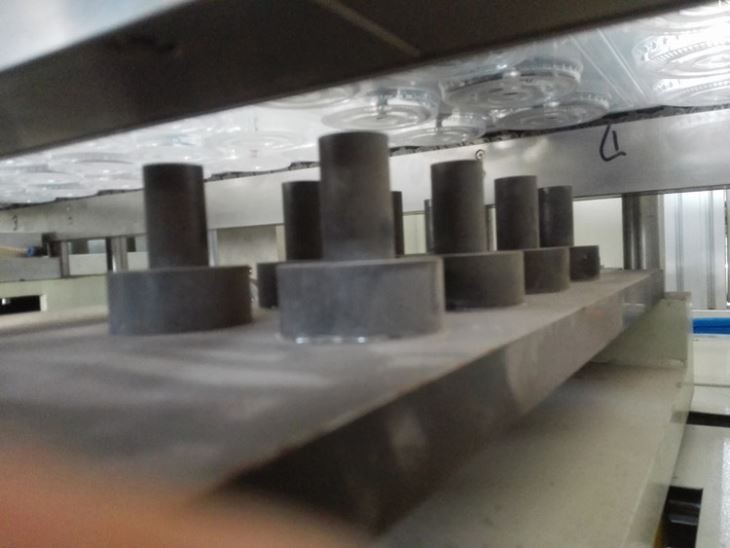
Not all punching molds are the same. Some are used for Forming Mold for Thermoforming Machine, while others are Cutting Mold or Punching Mold. Each type of mold might require a slightly different cleaning approach.
For forming molds used in thermoforming machines, you need to be extra careful because they often have complex shapes and delicate surfaces. Use a milder cleaning solvent and a very soft brush to avoid damaging the mold.
Cutting molds usually have sharp edges. When cleaning them, be extra cautious not to cut yourself. You might want to use a brush with a long handle to reach the edges safely.
Punching molds, on the other hand, are often subject to high - pressure forces. Check for any signs of deformation or stress marks during the cleaning process.
Maintenance Tips After Cleaning
Once you've cleaned the punching mold, you should apply a thin layer of lubricant to protect the mold's surface. The lubricant can reduce friction during the punching process and prevent rust. Make sure you use a lubricant that's compatible with your mold material.
Store the mold in a dry and clean environment when it's not in use. You can use a mold storage rack or a protective case to keep it safe.
Conclusion
Cleaning a punching mold is not a difficult task, but it does require some time and attention to detail. By following the steps I've outlined above, you can keep your punching mold in top - notch condition. A well - maintained punching mold can last longer, produce better - quality products, and save you money in the long run.

If you're in the market for a new punching mold or need more advice on mold maintenance, don't hesitate to reach out. We're here to help you with all your punching mold needs. Whether you're looking for a Forming Mold for Thermoforming Machine, a Cutting Mold, or a Punching Mold, we've got you covered. Contact us today to start a conversation about your specific requirements.
References
- "Mold Maintenance Handbook" - A comprehensive guide on mold care and maintenance.
- Industry - specific journals on metalworking and mold manufacturing.